RESTORE FURNITURE WITH CARE
Practice cleaning, sanding, small repairs, finish testing, and reassembly without rushing the piece.
Ask About Your Piece →LEARNER NOTES
★★★★★
“I used to sand first and think later. The course helped me inspect the finish, clean a test area, and choose the next step with much more patience.”
Mirei Tsukishiro
★★★★★
“Labeling hardware and testing stain on a hidden area changed my whole process. My small drawer project felt organized instead of messy and rushed.”
Keita Hayashida
★★★★★
“The sanding practice was especially useful. I learned how much pressure was too much and how to follow the wood grain instead of flattening the edges.”
Riko Shibasaki
★★★★★
“I liked that the course did not push every piece toward paint. It taught me to check veneer, old finish, loose joints, and drying time before deciding.”
Sota Kirishima
SEE HOW RESTORATION BUILDS
Before working on a table, chair, cabinet, or drawer, learn how FurniRevive organizes the process from inspection to finish.
Repair Approach →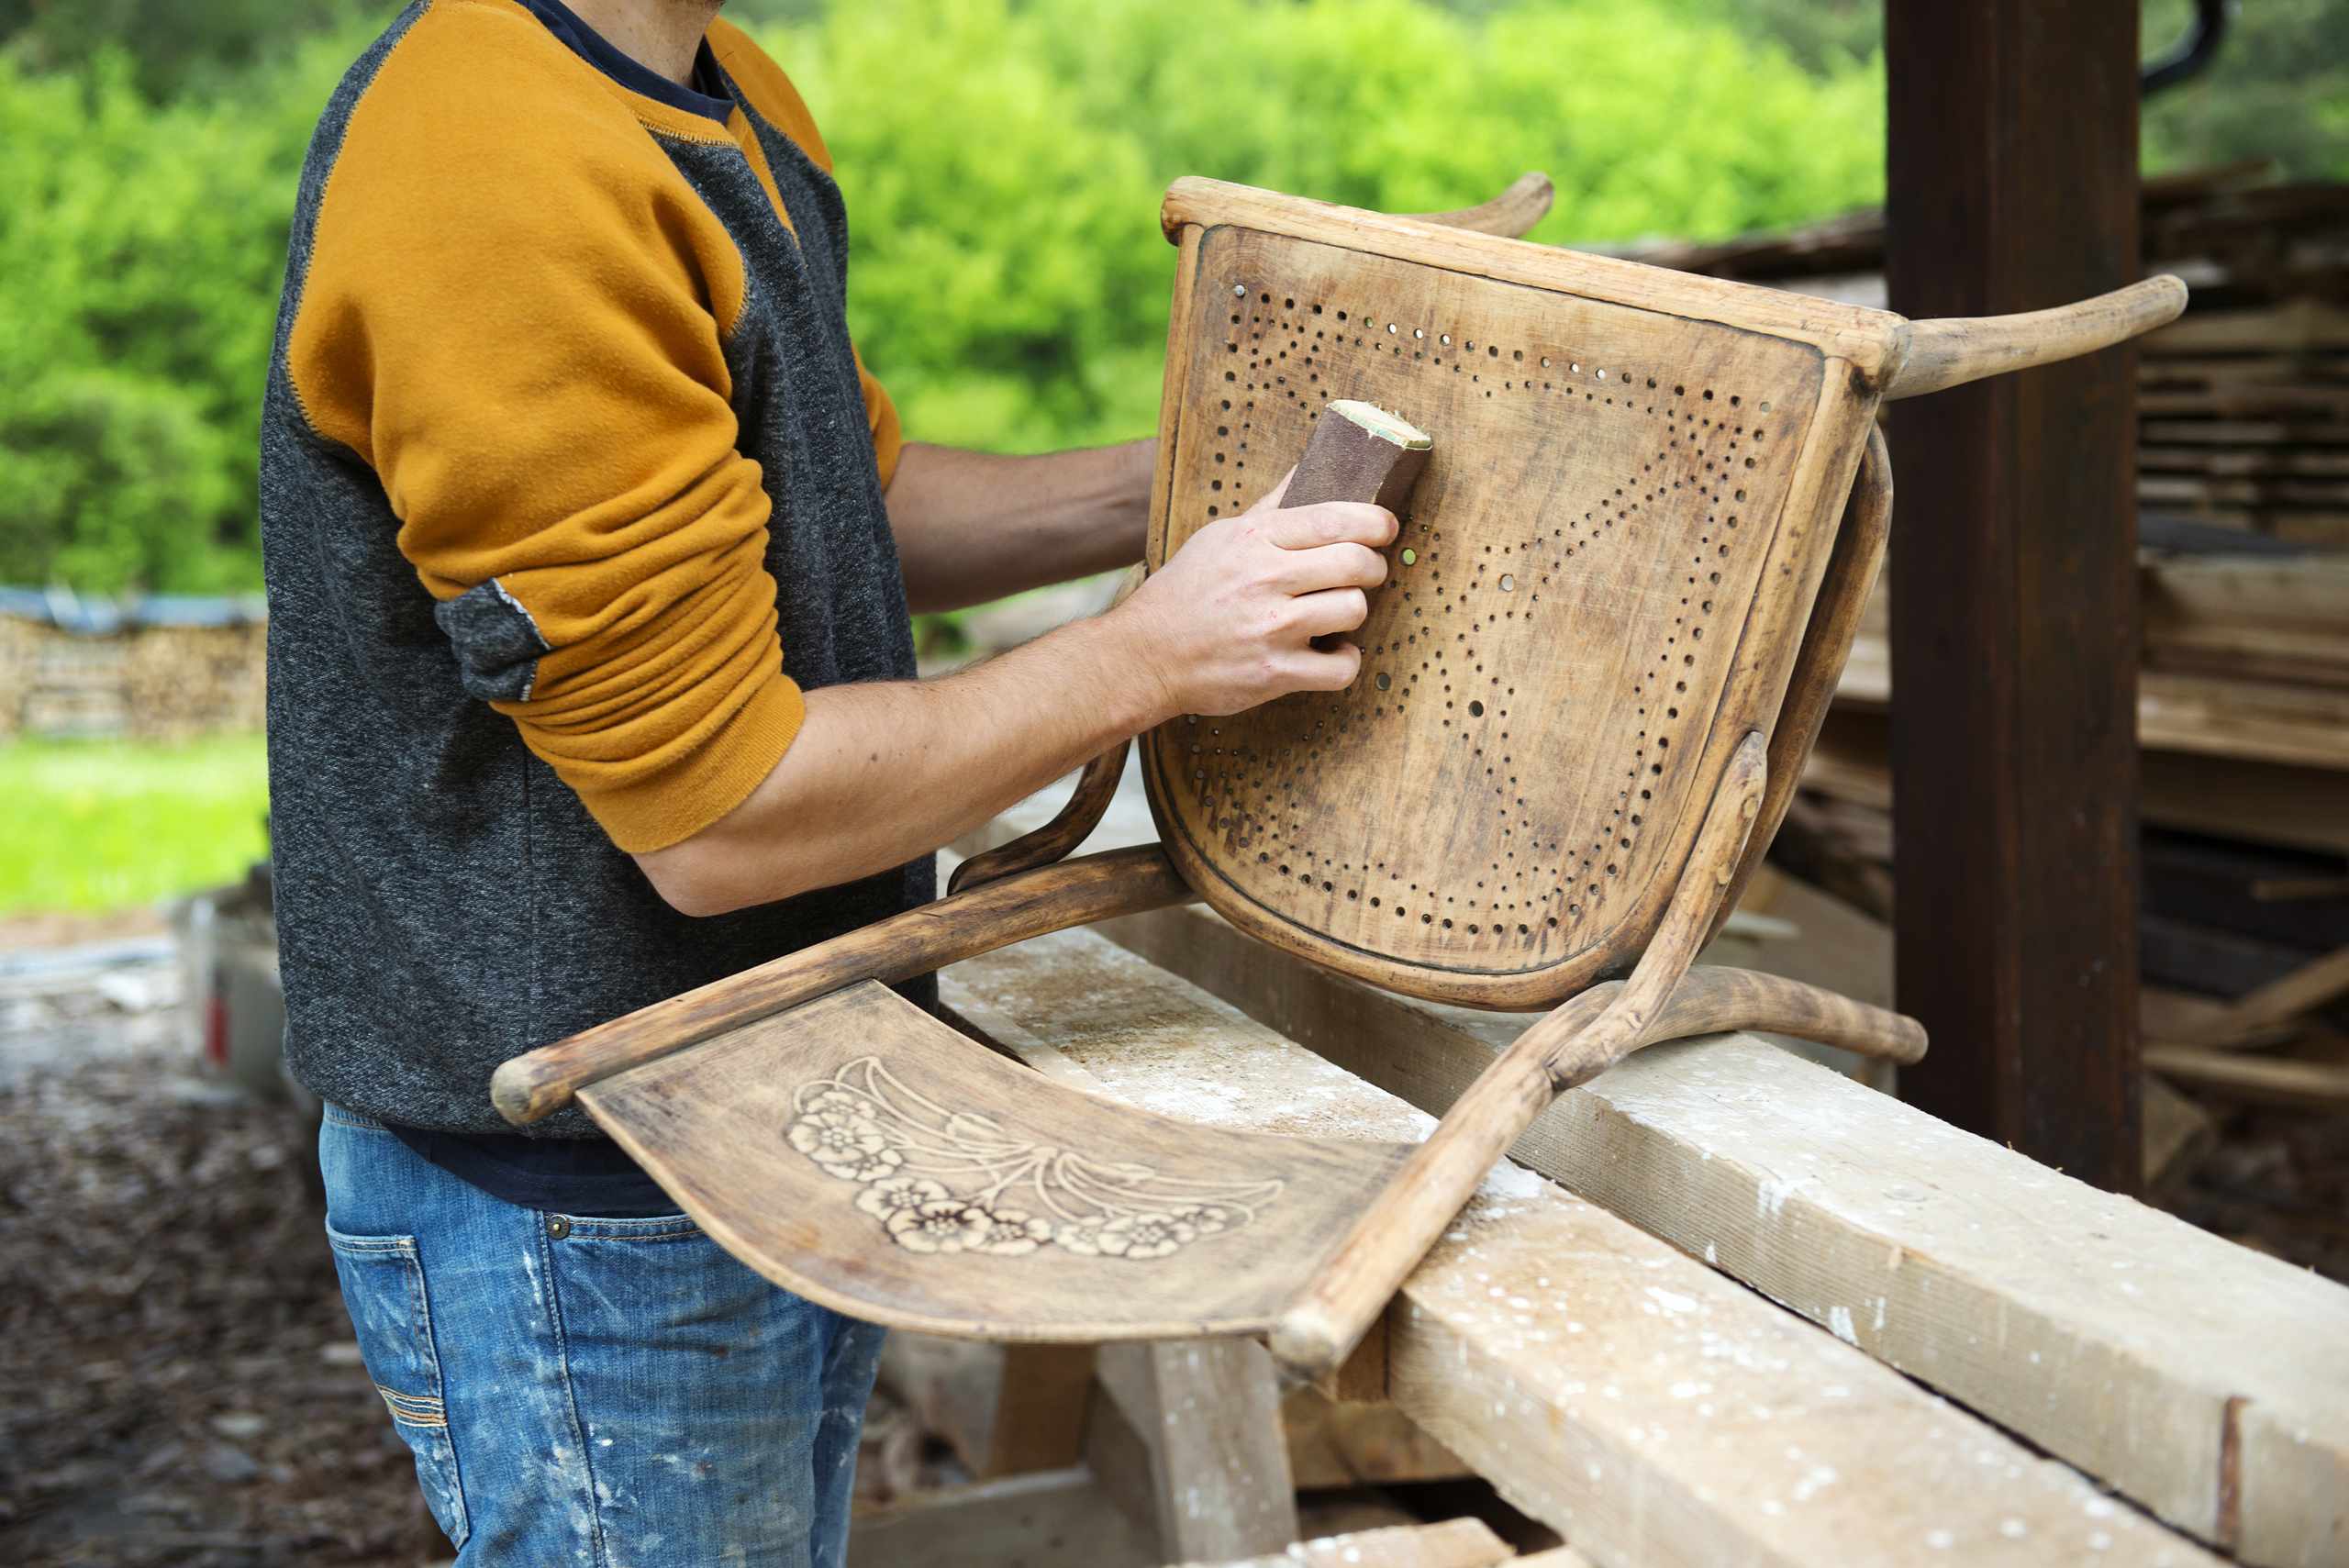
PROJECT SEQUENCE
Work through furniture restoration as a practical order of decisions: inspect the surface, clean away old polish, check joints and hardware, sand with control, test finishes, then reassemble after proper drying time.
COURSE PRACTICE AREAS
Condition Check
Look for scratches, water rings, loose joints, chipped veneer, sticky drawers, and worn finish before choosing tools or materials.
Surface Cleaning
Practice mild cleaning and degreasing on hidden areas so wax, grease, and old polish do not interfere with sanding or finish.
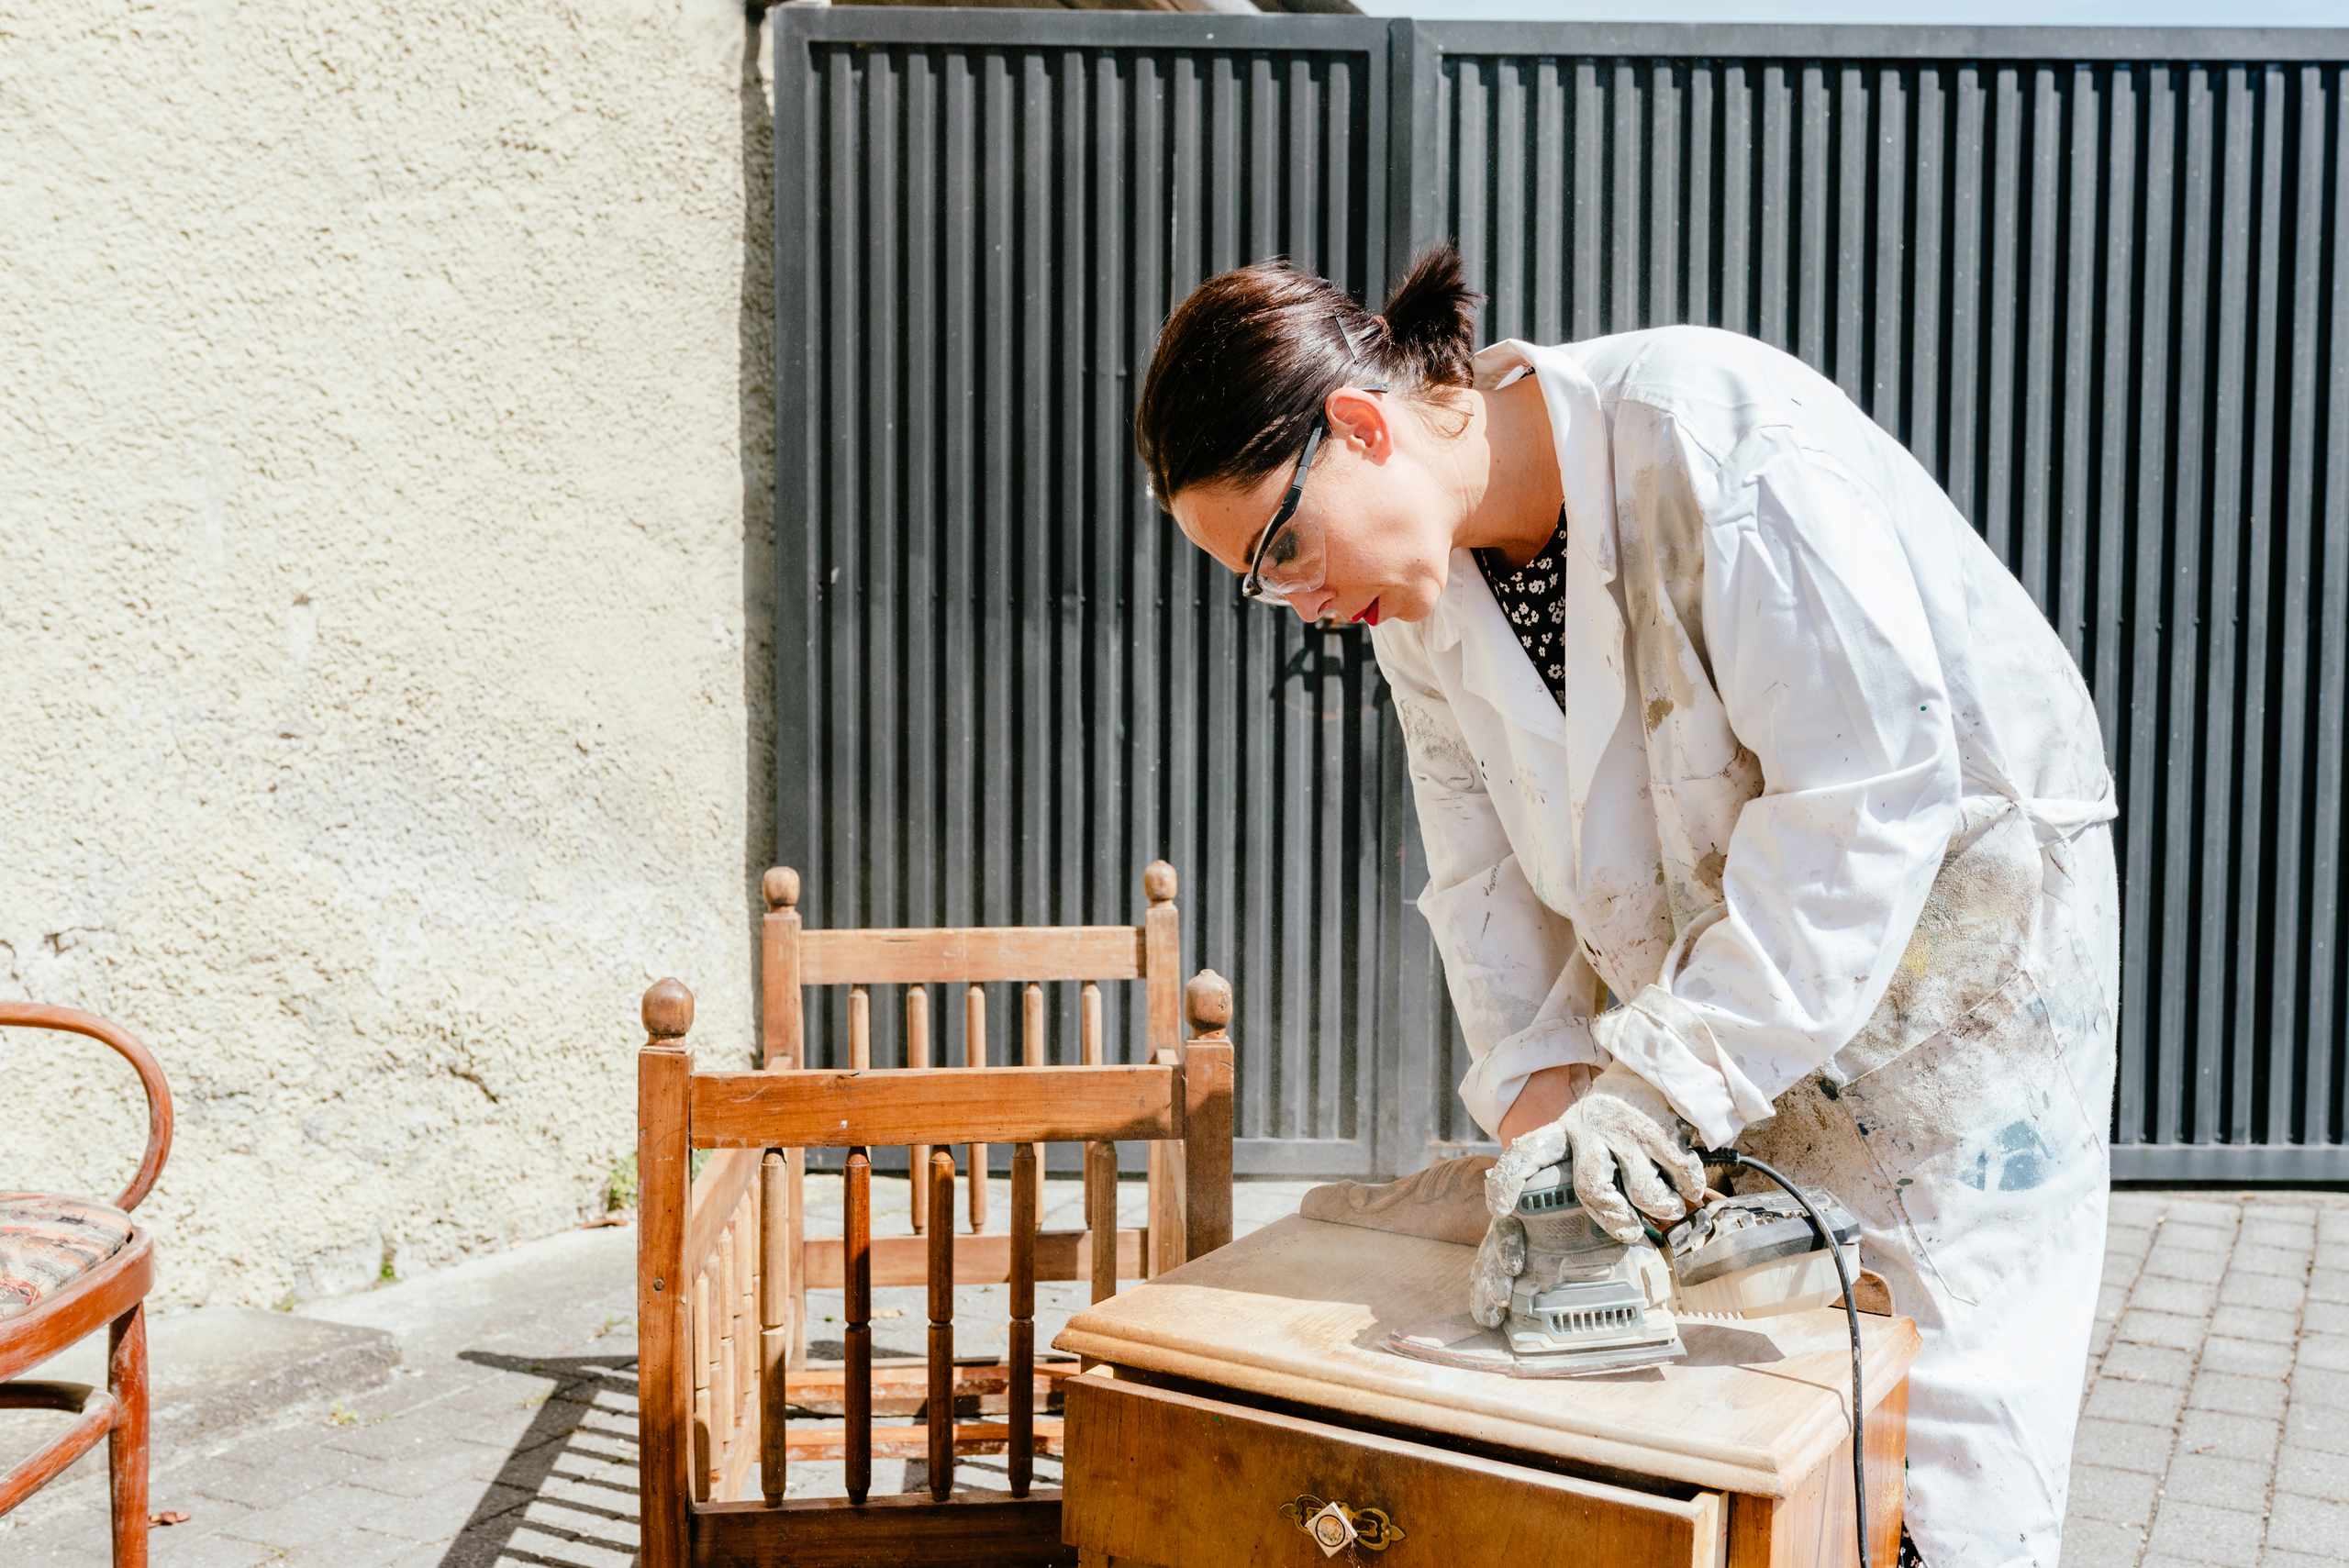
Sanding Control
Use a sanding block, sensible grit changes, and grain direction checks to avoid rounded edges and uneven surface patches.
Small Repairs
Handle shallow dents, chips, cracks, and minor hardware issues with filler, clamps, labels, and careful reassembly steps.
Finish Testing
Compare stain, paint, wax, oil finish, or clear coat on sample strips before applying color across the whole piece.
Dust And Drying
Check for dust nibs, brush marks, tacky coats, and rushed curing time before moving to the next restoration stage.
SURFACE PREP FIRST
Good restoration does not begin with guessing a color. FurniRevive puts surface preparation first, so you can learn how cleaning, sanding pressure, filler work, dust control, and finish samples affect the final look of a small furniture project.