ABOUT FURNIREVIVE
A careful way to begin furniture restoration.
OUR APPROACH
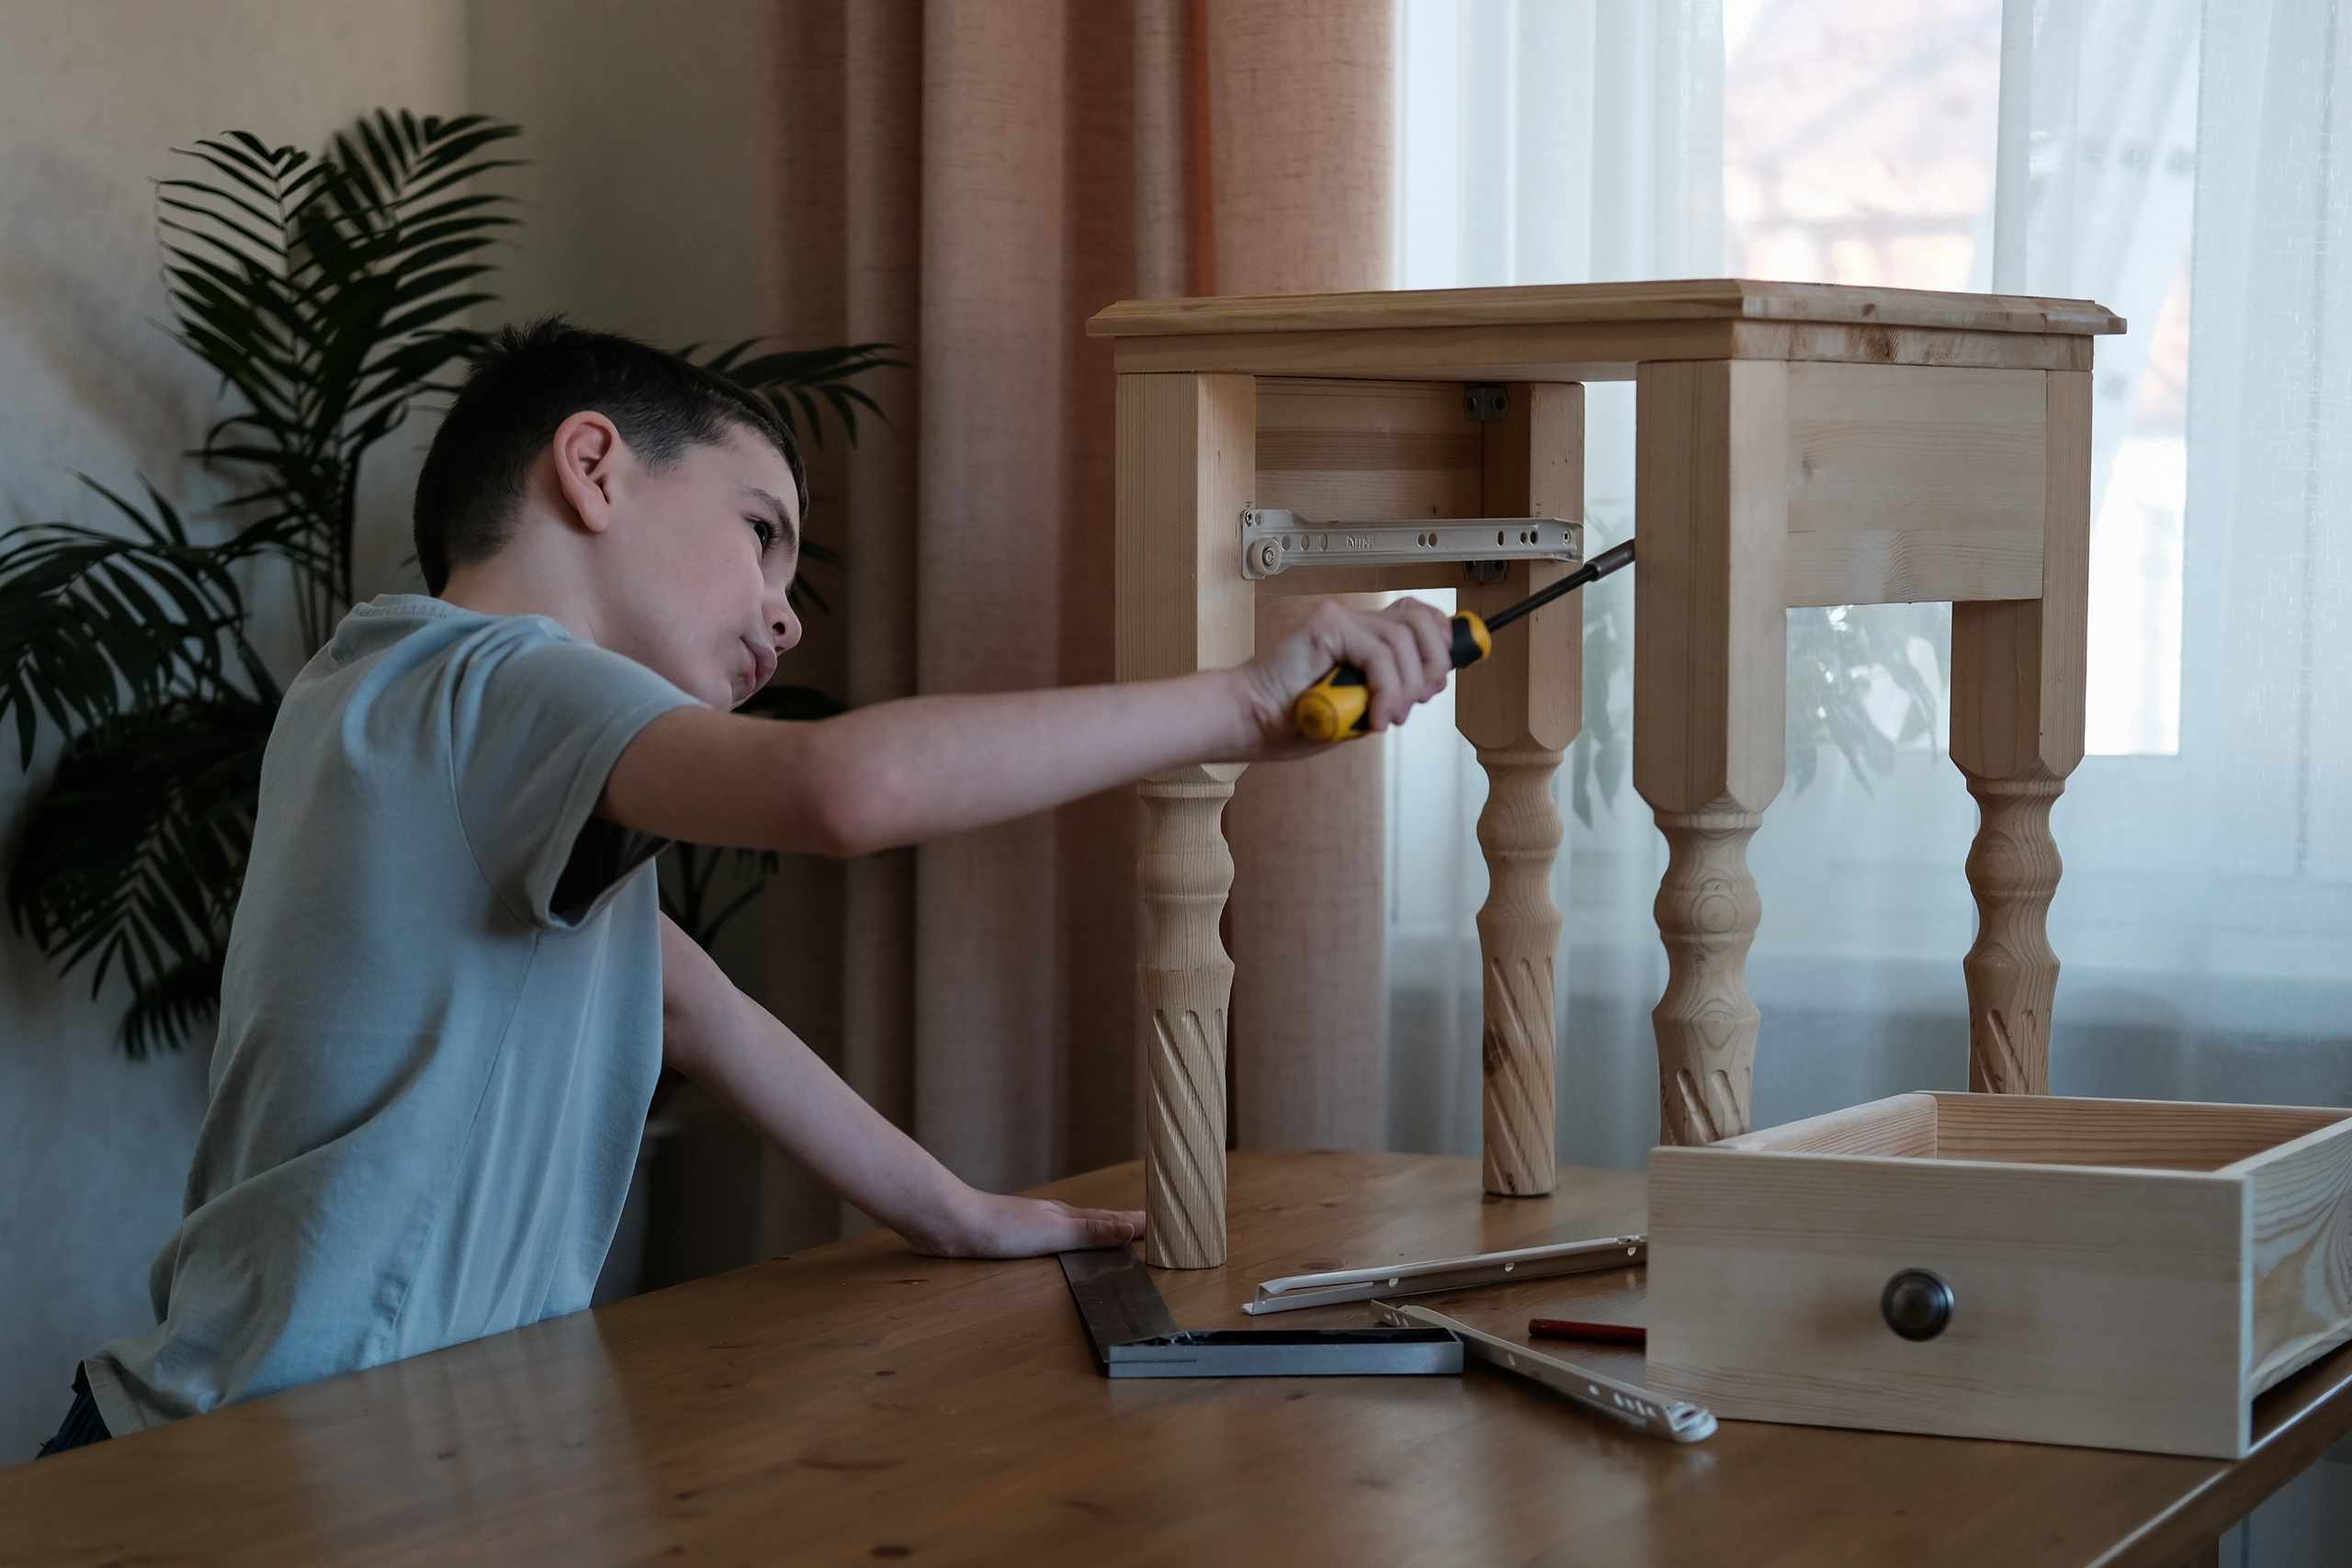
FurniRevive teaches restoration as a sequence of practical decisions, not a rush to repaint or sand everything flat. Each project begins with inspection, surface cleaning, and a clear look at wood grain, veneer, loose joints, old finish, and hardware.
The course focuses on small, manageable furniture pieces so learners can practice sanding control, filler use, finish testing, dust checks, drying time, and reassembly before working on anything sentimental, valuable, or structurally complex.
PRACTICE PRINCIPLES
Inspect First
Look for scratches, water rings, chipped veneer, sticky drawers, and loose hardware before choosing a repair method.
Prepare Details
Clean away old polish, grease, and dust so sanding, filler, stain, paint, or clear coat can behave more predictably.
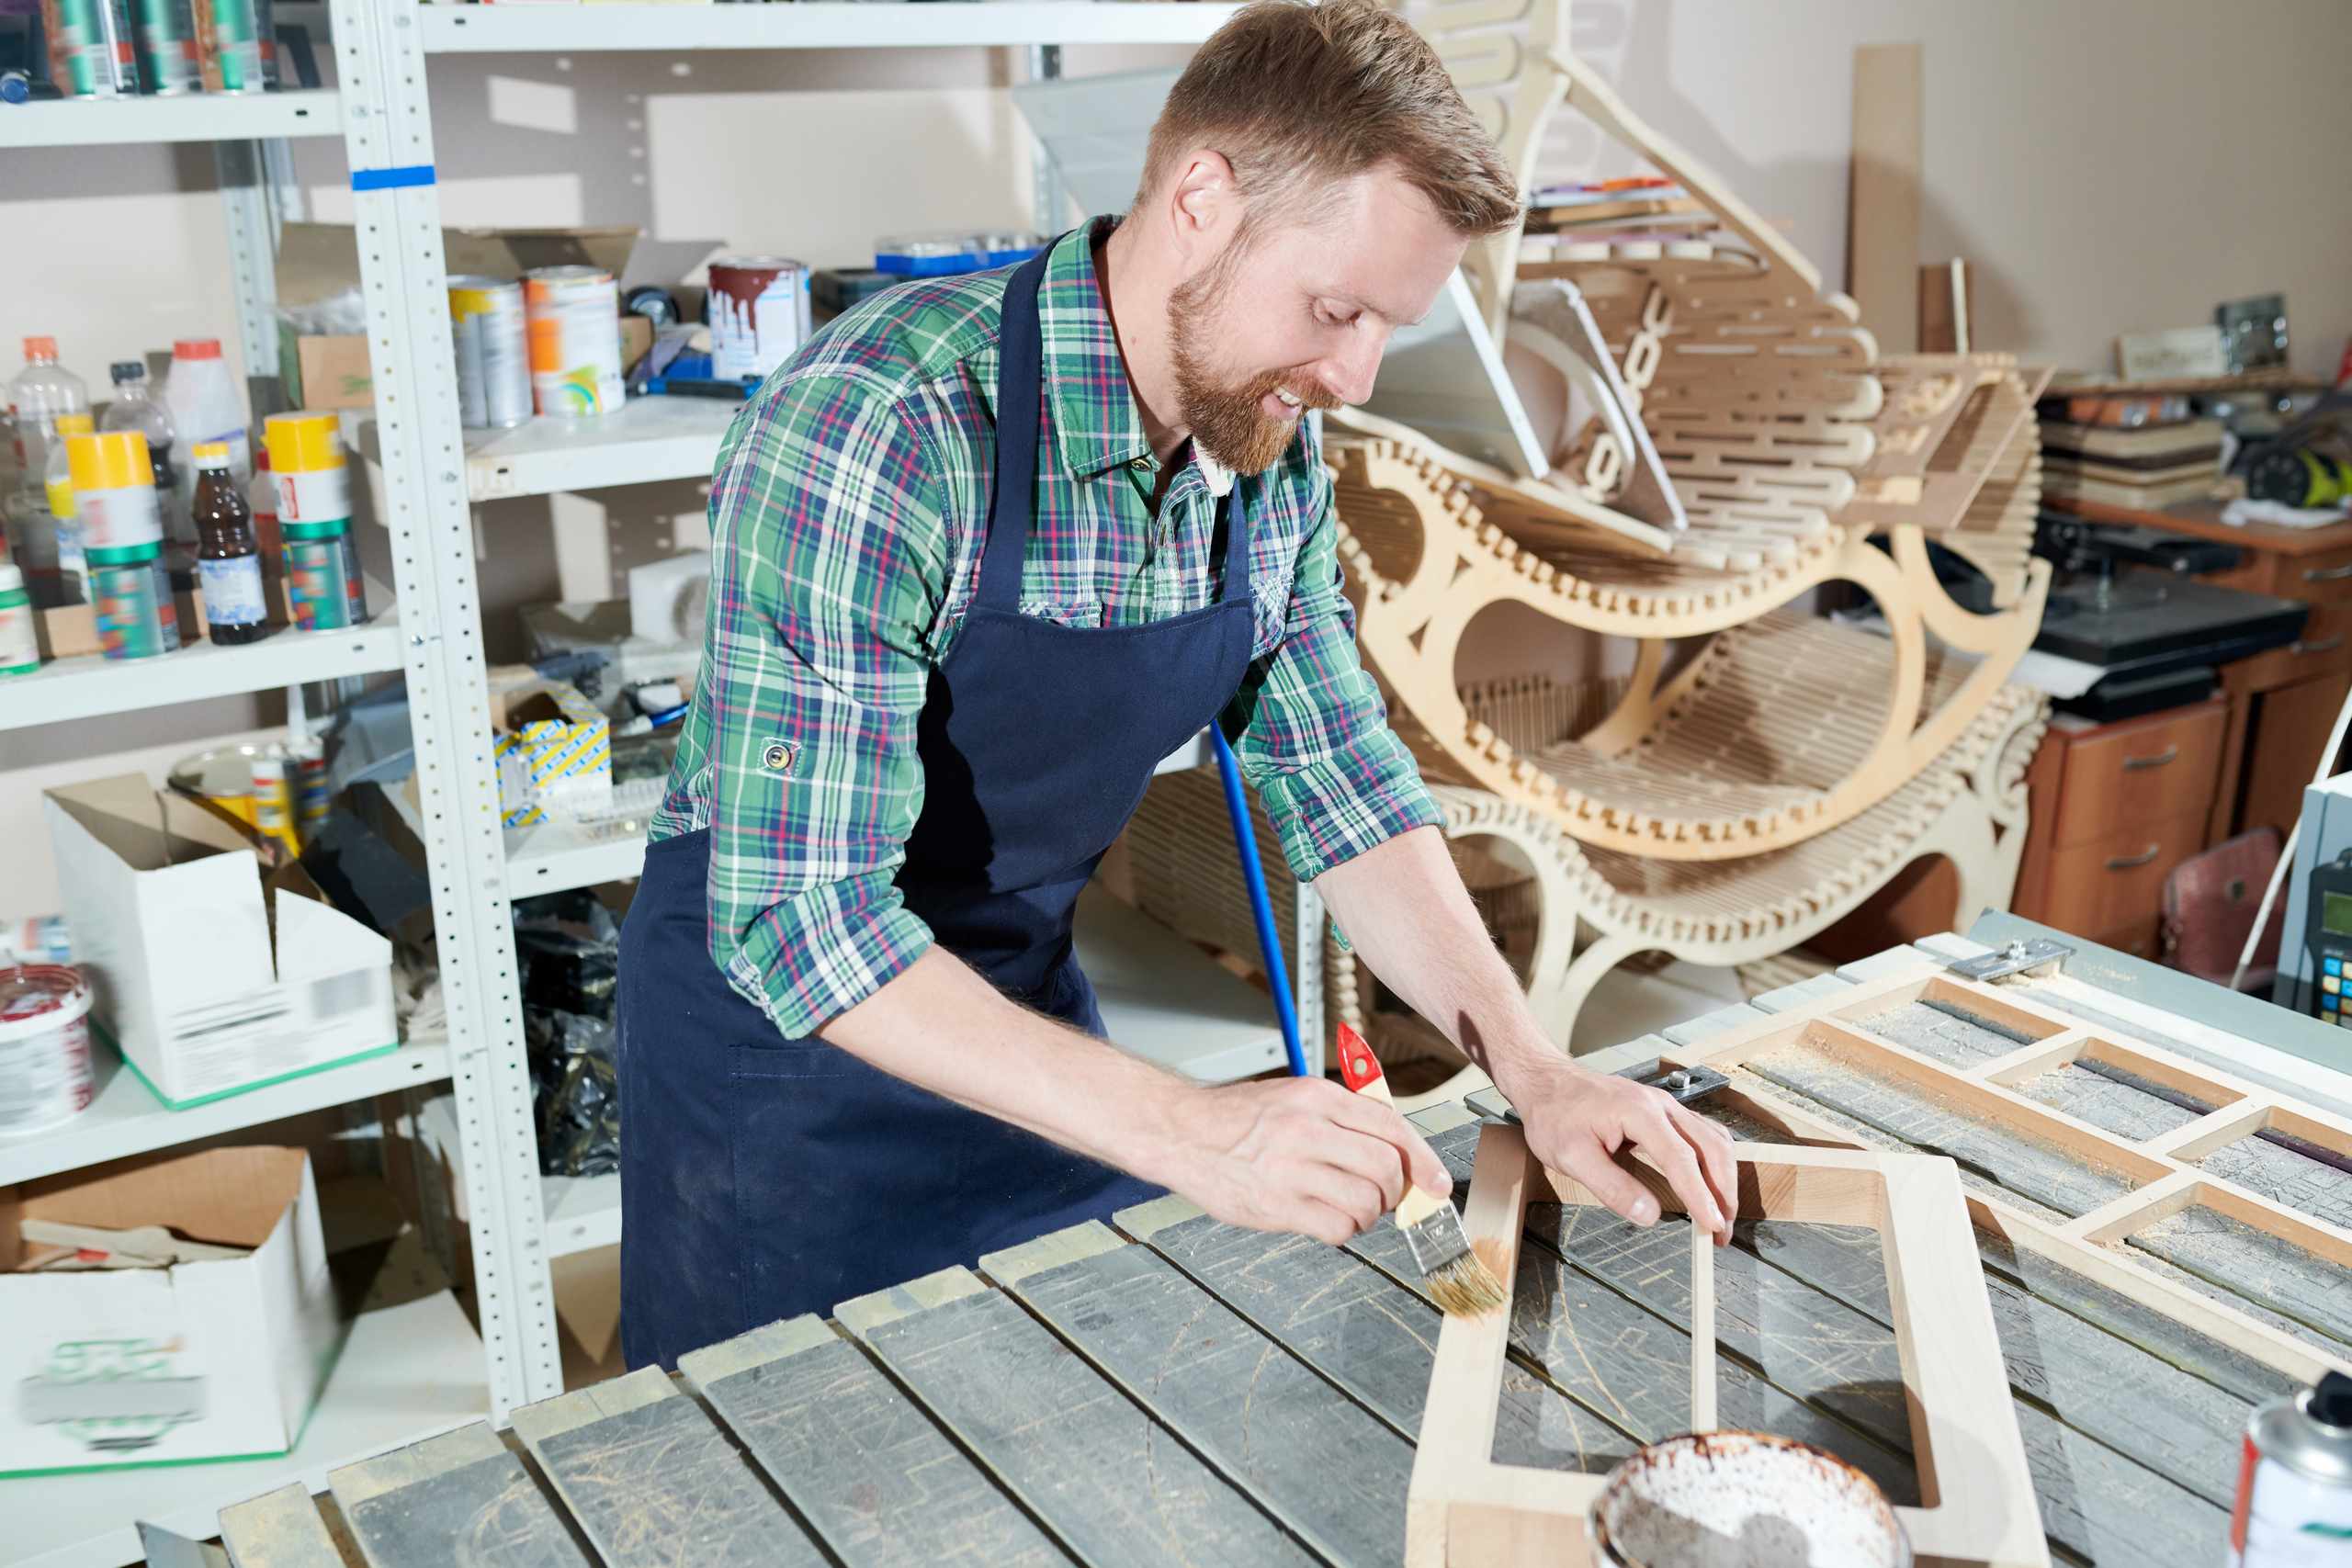
Test Before Finishing
Use hidden areas and sample strips to compare stain, wax, oil finish, paint, or clear coat before covering the full piece.
SMALL STEPS, CLEANER RESULTS
Restoration gets easier to understand when each step has a purpose. A sanding block is used to control pressure, hardware is labeled before removal, filler is checked after drying, and finish samples are reviewed before the final choice.
The course also shows when to slow down. Thin veneer, major structural damage, unknown old coatings, or unstable joints may need a different plan or professional assessment instead of a quick beginner fix.
READ BEFORE YOU REPAIR
Use the blog notes to review surface prep, sandpaper grit choices, hardware handling, finish testing, and other first decisions before starting a furniture refresh.
Browse Repair Notes →